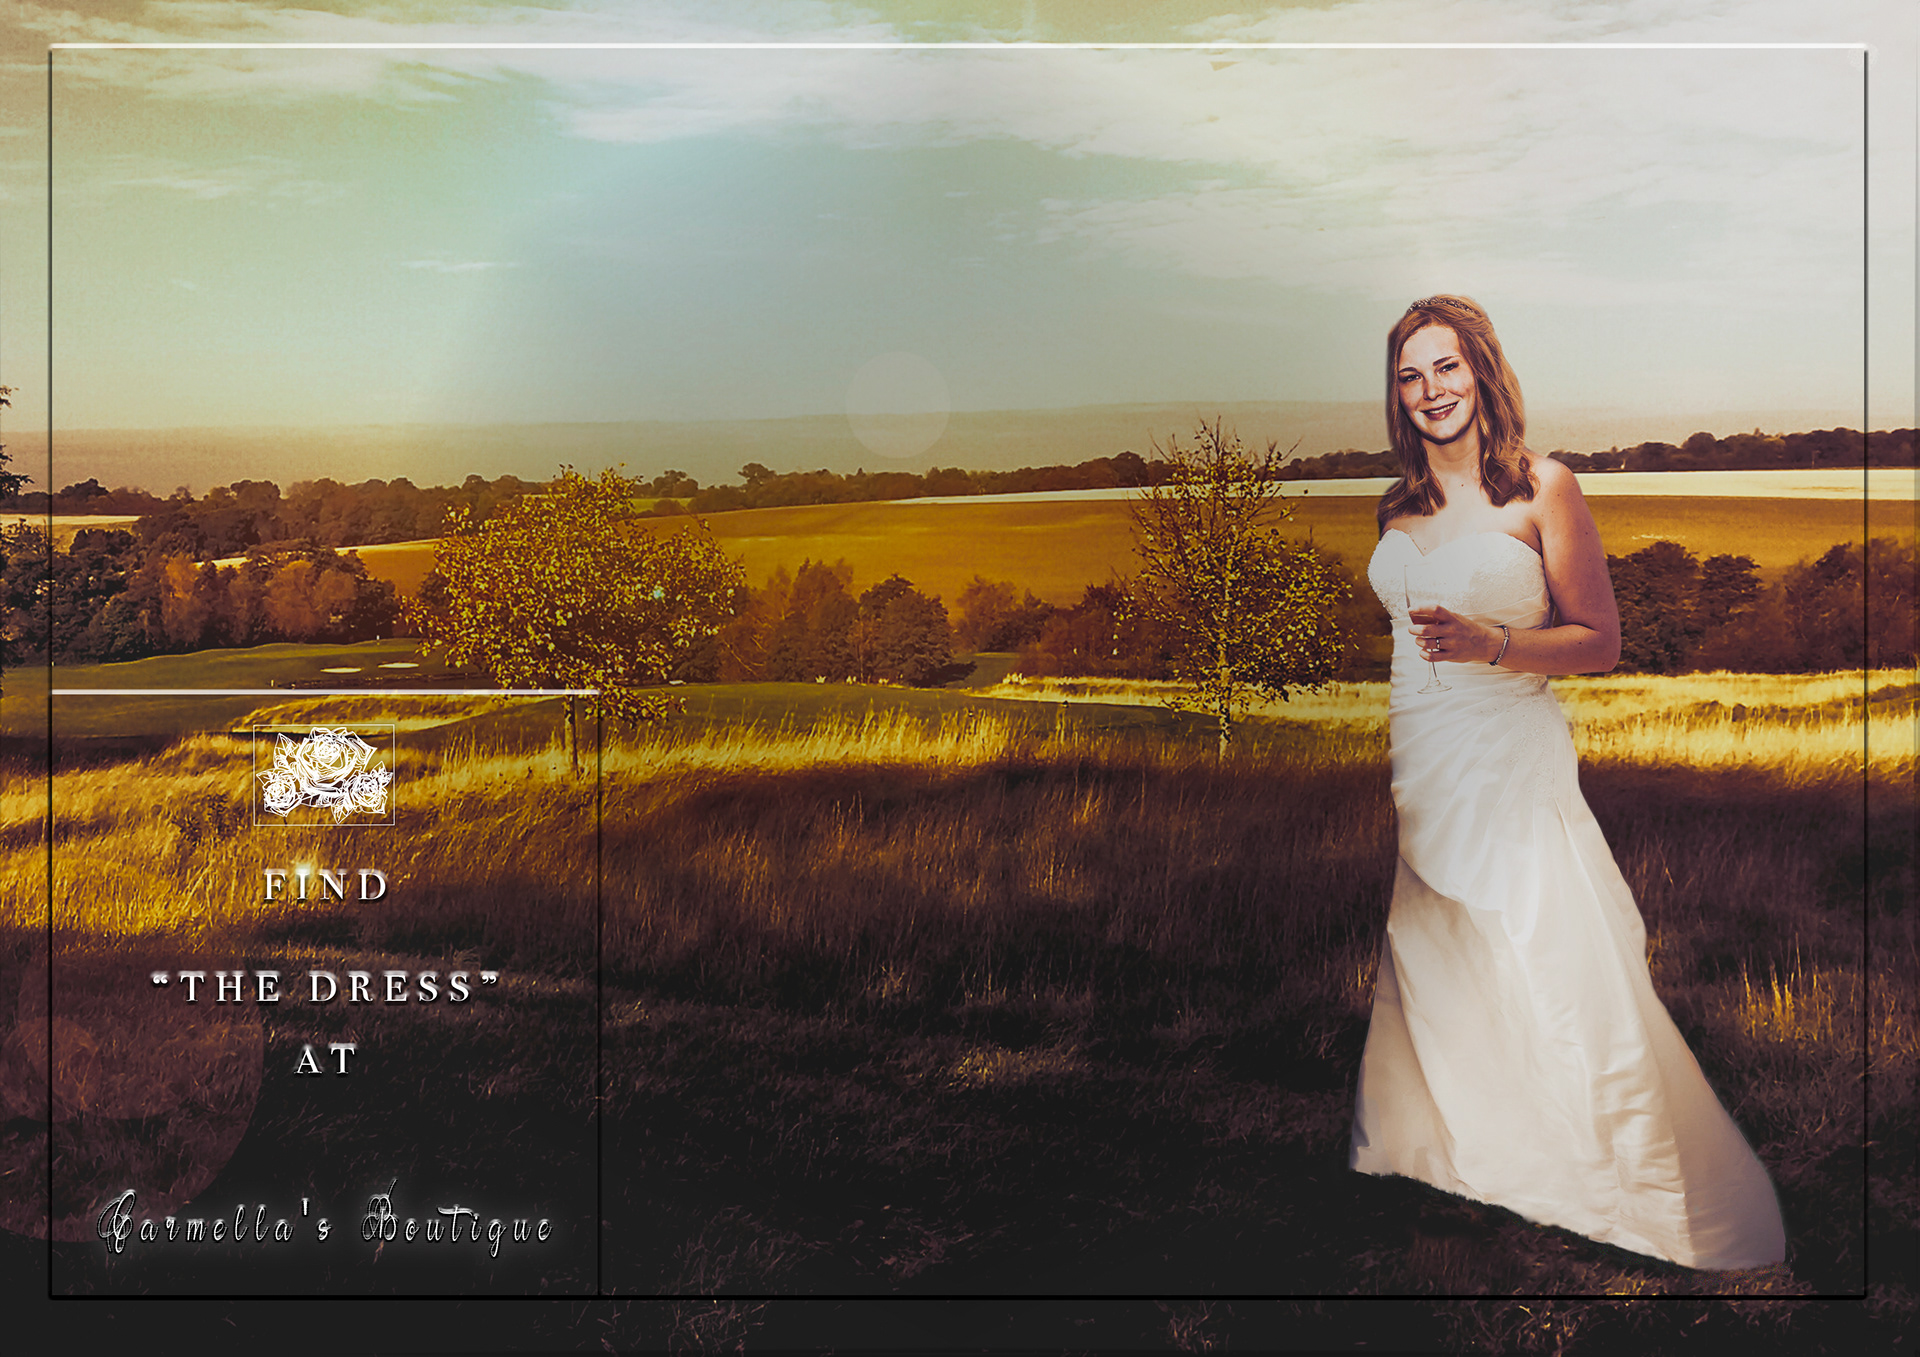
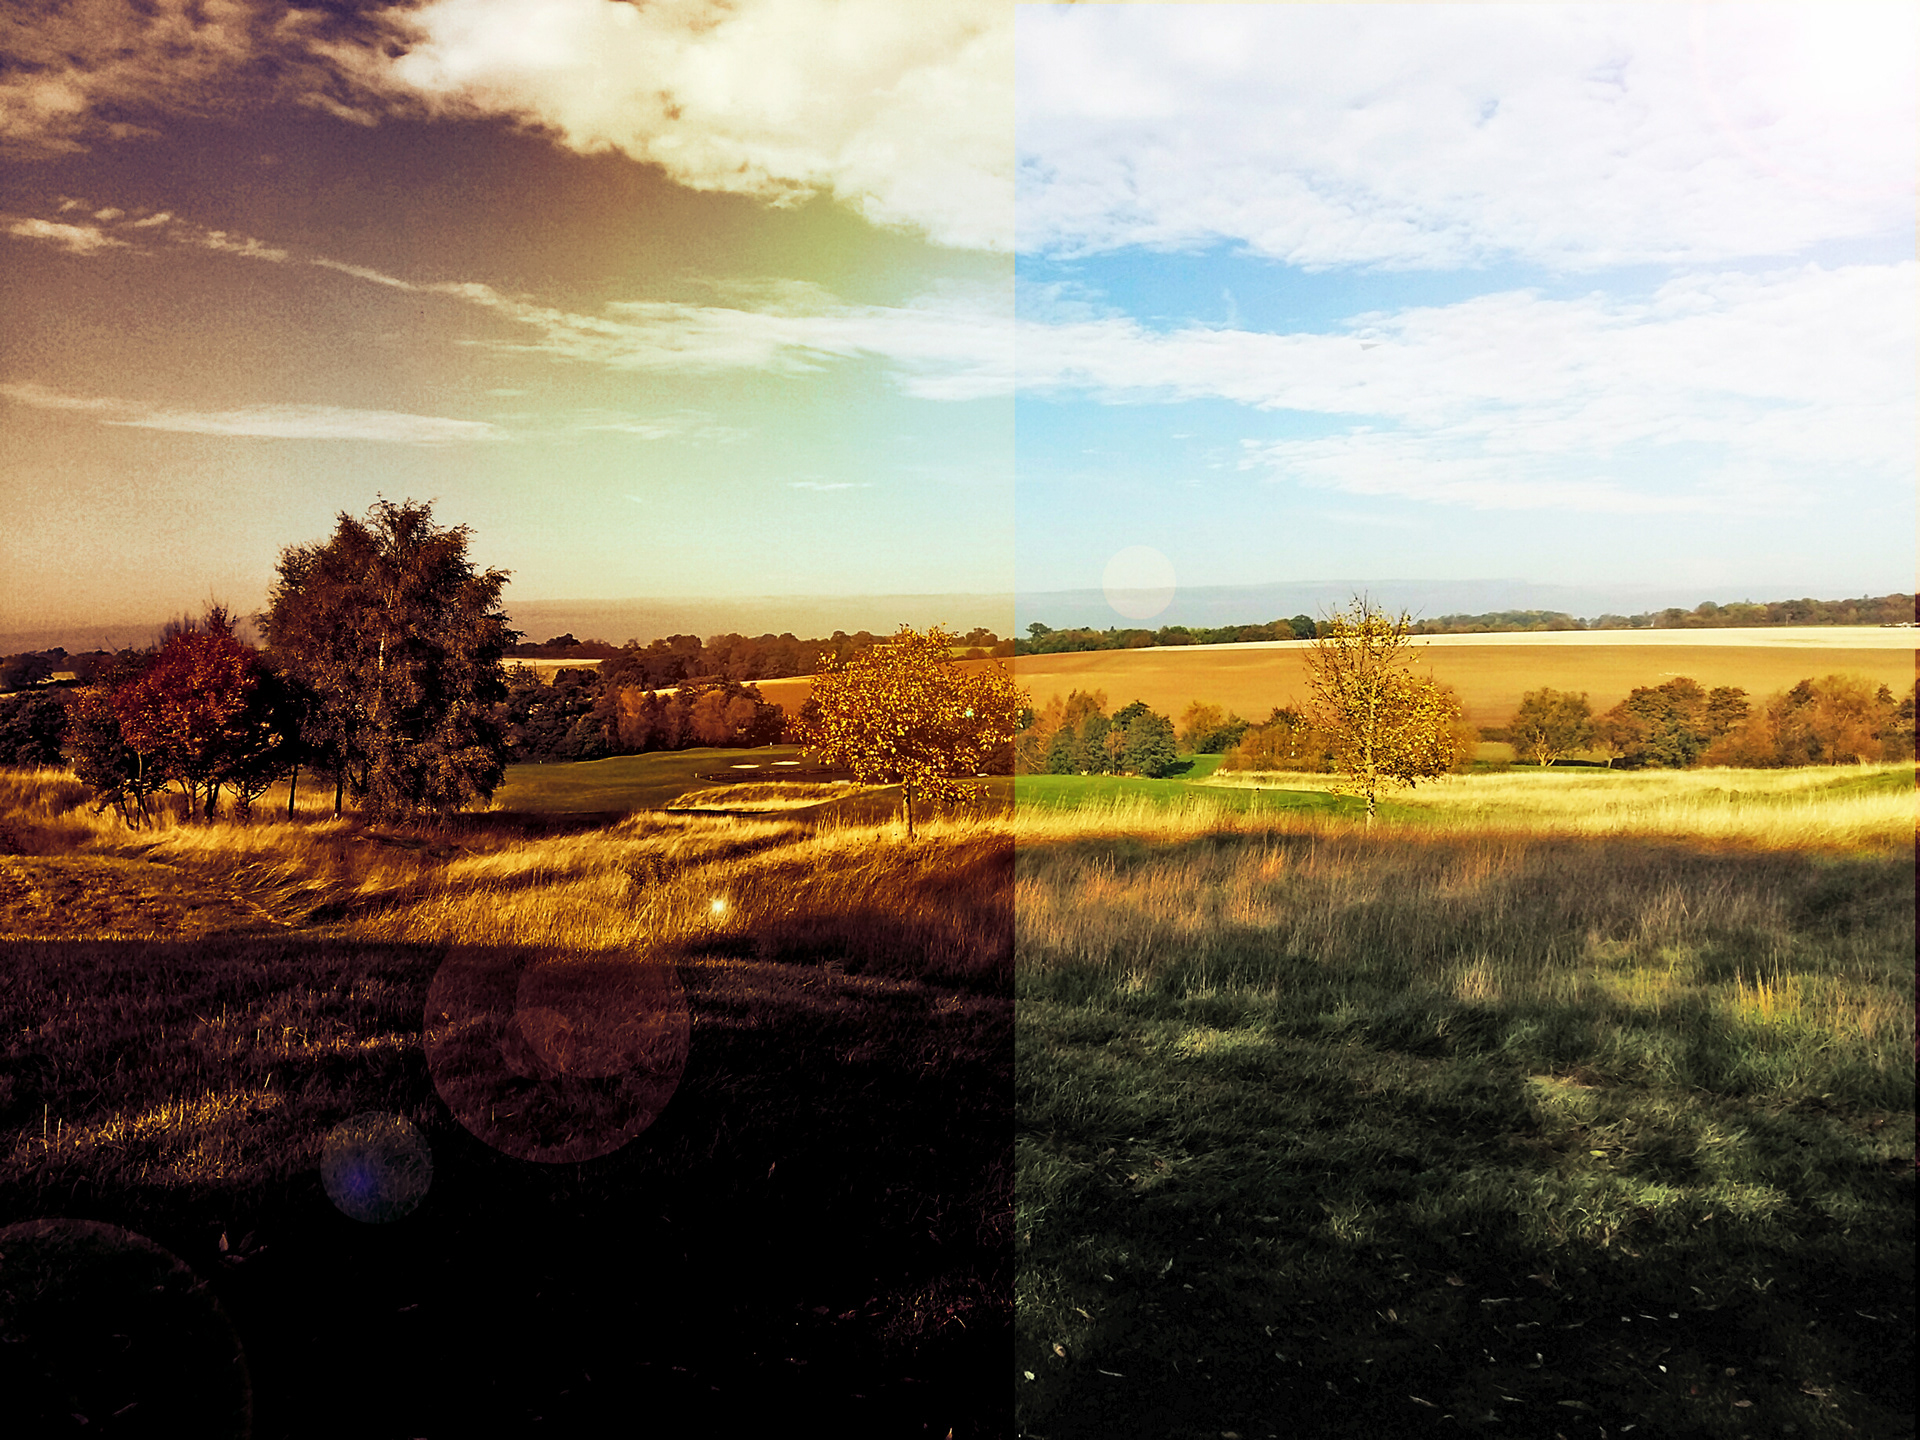
Here I have created a "Wedding dress" ad. The background image is a photo I took on a walk near a field. I added a colour look up adjustment layer of a sunset filter. I added a radial gradient of yellows and orange, inversed it and lowered the opacity. The model was a bride from a wedding I did in Cyprus. I didn't have the right image showing the dress with the right face for what I wanted. I found another image of the face, reduced blemishes, smoothed the skin using Hypass method, Sharpened the eyes, brightened the eyes and added a catch light. I then added some subtle makeup, reshaped the eyebrows and thickened them up and added eyelashes. Because it was hot some of the skin was redder than the rest so I levelled those sections up. I then merged that face to the full body one using warp transformation until perfect. I masked it on to blend in. I added the same effect that I used for the background minus the gradient to match the colour and lowered the opacity right down.I wanted to brighten the dress up so I duplicated the layer and changed the blend mode to soft light. I masked it on and then added a glitter overlay to the top part of the dress to enhance the beads. I neatened the hair up and added some grass markings on the bottom of the dress so she wasn't just floating. I created the rose logo in Illustrator using image Trace and created the writing there to. I added them to the image with a overlay rectangle with a Bevel and Emboss layer style and drop shadow. I then duplicated it to Frame the whole image.