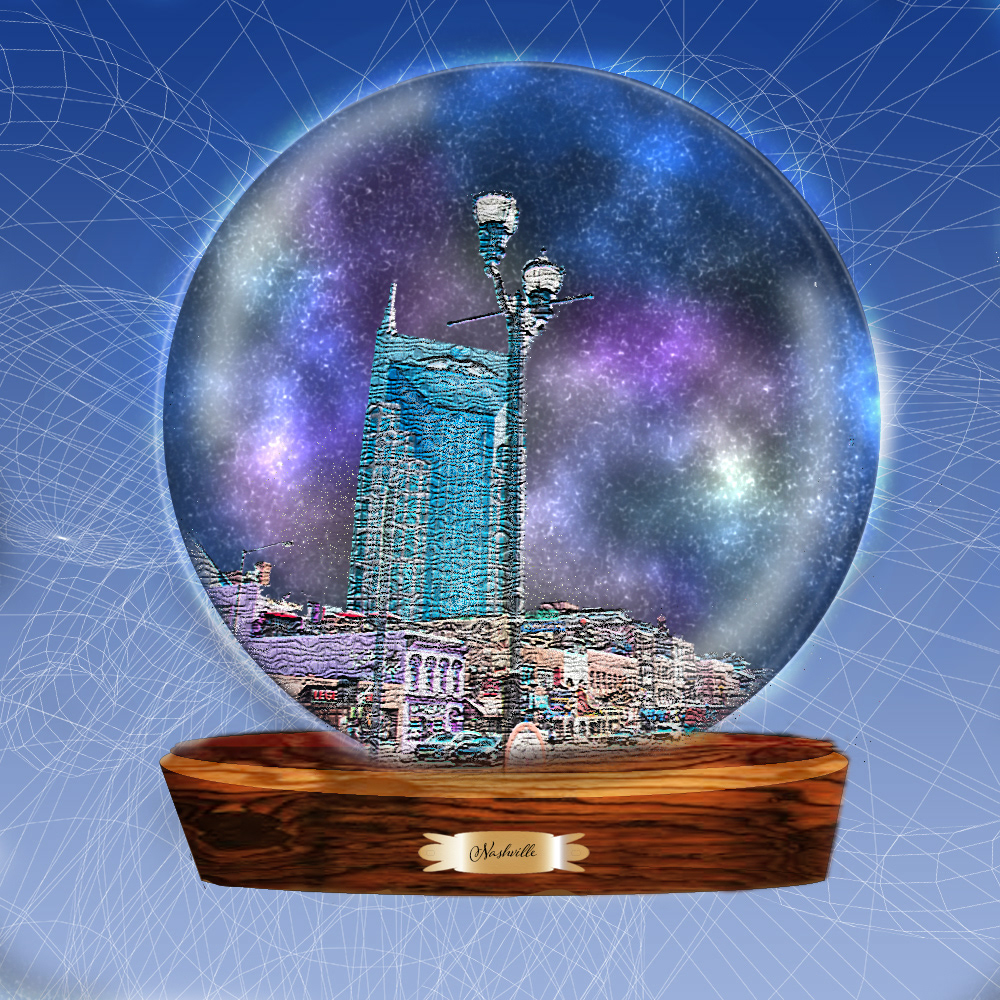
The photo was one of mine from Nashville while on holiday (it was amazing!). Apart from the free wireframe in the background from a tutorial Ive done in the past the rest I have created from scratch myself. I started with the stand which I drew in Illustrator. I added a wood overlay in photo shop to get the wood grain. The plaque I made in illustrator using the rectangle tool and the pucker and bloat filter. I added the text and combined it all in photoshop as a smart object. I then created the globe itself using the eclipse tool and adding an outer glower layer style.I then added the sky by creating a solid layer in black and added noise at 400%, Gaussian and turned on the monochromatic. I then added a 1.5 Gaussian blur filter. I repeated the process but changed the blur to 1. I merged the layers and used the levels adjustment so the "stars" where the only thing showing. I created a blank black layer and added clouds filter. I changed the levels to make the clouds look how I wanted and changed the blend mode to screen and added a mask. between the two layer I added a blank layer in which I used a soft brush to add colour and revealing the cloud effect. after I finished creating the sky I took a street picture of Nashville and removed the sky from it. I then used the warp and transformation tools to position in the correct place and masked the parts inside the globe. I added a spherize filter to round it off a bit. I added a texturizer filter to make it look like a model. I added a blank layer and painted white streaks over the globe to give it a 3d look and then blurred it. I then changed the opacity. To finish the picture off I added a blue gradient layer and a free wireframe to the background.